
A refrigerator that stops cooling, a washer that will not drain, or an oven that will not heat can disrupt the entire day. Knowing how to prepare for a technician visit helps the appointment move faster, gives the technician a clearer picture of the issue, and reduces avoidable delays.
You do not need appliance expertise to get ready. A few practical steps can help protect your home, support an accurate diagnosis, and make sure the technician can focus on the repair rather than access problems or missing details.
Start With Safety, Not Troubleshooting
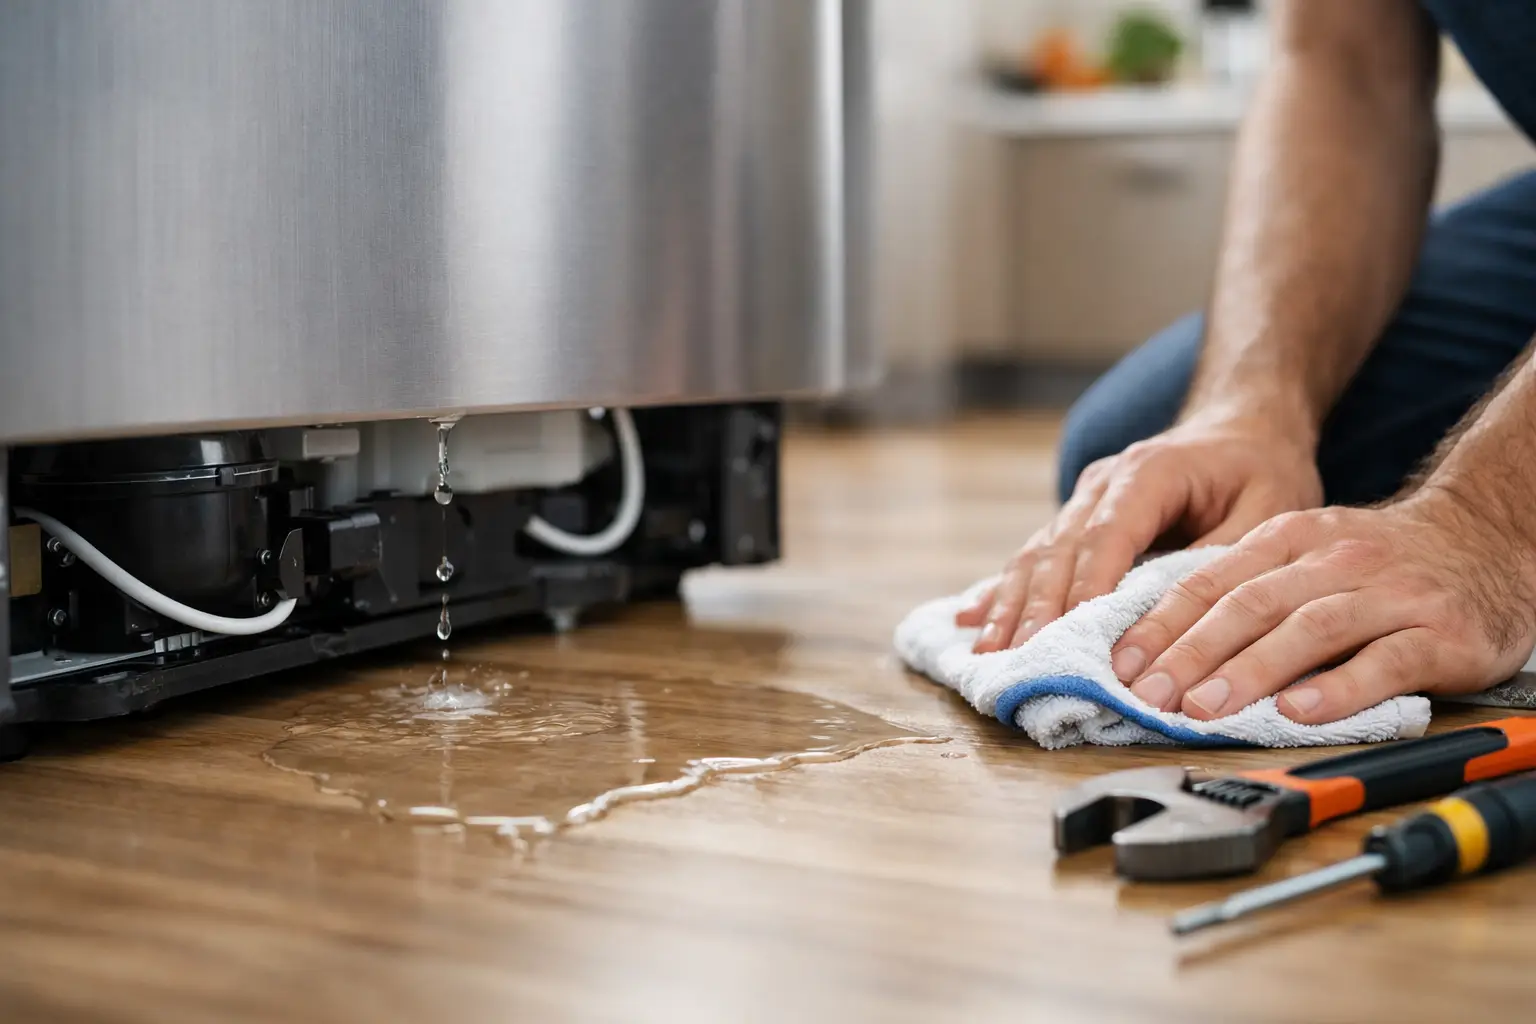
If an appliance is leaking, smoking, sparking, producing a burning smell, or tripping a breaker repeatedly, stop using it. Turn it off if you can do so safely and keep children and pets away from the area. For a water leak, place towels or a shallow pan nearby if it is safe, and shut off the appliance water supply if you know where it is.
Avoid taking panels apart, disconnecting gas lines, or attempting electrical repairs before the appointment. Well-intended DIY work can create a safety risk, damage a component, or make the original problem harder to diagnose. It is helpful to reset a tripped breaker once or check that the appliance is plugged in, but repeated resets or work beyond basic checks should wait for a qualified technician.
Clear a Safe Path to the Appliance
A technician needs room to inspect the appliance, test it, and, when necessary, pull it forward or access its rear panel. Before the appointment, clear a path from the entrance to the appliance. Move shoes, boxes, small furniture, pet beds, and anything else that could create a trip hazard.
Then clear the immediate work area. For a washer or dryer, remove laundry baskets, detergents, and stored items from the top and sides. For a refrigerator, move magnets, papers, and countertop items that could fall when doors are opened or the unit is shifted. For an oven, cooktop, or dishwasher, clear nearby counters and take dishes or cookware out of the appliance.
A good rule is to leave enough room for a person to stand, kneel, and work comfortably. If the appliance sits in a tight laundry closet, basement, garage, or commercial back room, mention that when scheduling. Access conditions can affect what tools, parts, or assistance may be needed.
Write Down What Happened and When
The symptom is useful, but the sequence often matters just as much. A dishwasher that leaks only during the drain cycle requires a different line of diagnosis than one that leaks as soon as it fills. A dryer that makes noise only after ten minutes of operation gives the technician a meaningful clue.
Before the visit, make a short note with the appliance type, brand, model number if available, and a clear description of the problem. Include when it began, whether it is constant or intermittent, and what you noticed immediately before the issue started. For example, you might note that the refrigerator began clicking after a power outage or that the washer stopped spinning after an unusually heavy load.
Also record any error codes, flashing lights, unusual sounds, odors, or visible leaks. Photos and short videos can be especially helpful when a problem happens only occasionally. Do not feel pressure to diagnose the failed part. Clear observations are more valuable than guesses.
Leave the Appliance in Its Problem State When Possible
Many customers clean up the evidence because they want the home to look presentable. That is understandable, but do not erase useful clues. If a washer leaves water in the drum, a dishwasher has standing water, or a refrigerator has frost buildup, leave it as-is when it is safe to do so. The technician may need to see the condition firsthand.
There are exceptions. Clean up water that could damage flooring or create a slip risk. Remove spoiled food from a refrigerator or freezer if cooling has failed, and discard any unsafe food. If an appliance is smoking, overheating, or leaking heavily, turn it off and prioritize safety over preserving the symptom.
If you ran a cycle, moved the appliance, or tried a reset before the visit, simply tell the technician. Honest details help prevent repeated testing and support a more accurate repair recommendation.
Find the Model and Serial Information
Model information helps identify compatible parts and common service considerations. You may find the model and serial number on a label inside a refrigerator compartment, around a dishwasher door frame, behind a washer door, or on the back or side of the appliance.
If the label is easy to reach, take a clear photo of it before the appointment. Do not pull out a heavy appliance alone just to locate it. Technicians can usually find the information during the visit, but having it ready may save time, especially if a part needs to be ordered.
For built-in appliances, the model number may also appear in the owner’s manual, original receipt, warranty paperwork, or a previous service record. If you have those documents, keep them nearby, but do not worry if you cannot locate them.
Make Access and Parking Simple
A repair visit can stall before the diagnosis begins if the technician cannot get into the building, park nearby, or reach a secured service area. Confirm that someone age 18 or older will be available to provide access and answer basic questions. If you need to leave during the appointment window, arrange for a trusted adult who knows the appliance history to be present.
For apartments, condominiums, offices, and rental properties, check building requirements in advance. Some properties require visitor registration, elevator reservations, certificates of insurance, loading dock access, or coordination with a property manager. A quick call to the building office can prevent a missed appointment.
If parking is limited, provide practical instructions when scheduling. This is particularly useful in busy areas of Greater Massachusetts, where street parking, permit rules, and multi-unit buildings can add time to a service call.
Secure Pets and Plan for Children
Even friendly pets can become stressed by unfamiliar people, open doors, tool bags, and appliance noise. Put dogs in a separate room, crate, or secure yard before the technician arrives. Keep cats away from the work area as well, particularly when an appliance must be moved and there are gaps behind cabinets or walls.
Children should be kept clear of the repair area. Technicians may use test equipment, hand tools, and replacement parts that are not safe for children to handle. This also gives the technician room to work efficiently and lets you have a focused conversation about the diagnosis and repair options.
Know What You Want to Ask
A good repair appointment should leave you with clarity, not more uncertainty. Once the technician has diagnosed the issue, ask what failed, what caused the symptom, and whether the repair is recommended based on the appliance’s age and condition. If a part must be ordered, ask about the expected timeline and what you should do with the appliance in the meantime.
It is also reasonable to confirm the estimate before work begins. A professional service experience should include a clear explanation of the repair, parts and labor involved, and any changes that arise after further testing. If a repair is not the best value, a dependable technician should say so plainly rather than push an unnecessary fix.
For landlords and business operators, have approval limits and billing details ready. If another person needs to authorize the repair, make sure they can be reached promptly. Delayed authorization can turn a straightforward service call into a second visit.
A Quick Appointment Checklist
Before the technician arrives, make sure you have handled these practical details:
- Stop using the appliance if there is a safety concern.
- Clear a safe path and working space around the unit.
- Note symptoms, error codes, timing, and any recent changes.
- Keep photos, videos, manuals, or model information available.
- Arrange adult access, parking guidance, and building entry if needed.
- Secure pets and keep children away from the work area.
These steps do not guarantee that every repair can be completed in one visit. Some failures require specialty parts, additional testing, or manufacturer-specific components. They do help eliminate common delays and allow the technician to spend more time solving the actual problem.
When the appointment begins, lead with the simple facts: what the appliance is doing, when it started, and what you have already tried. That straightforward handoff gives a skilled technician the best starting point and brings your household one step closer to normal.