A dryer that heats normally but tumbles no longer has one of the most common signs of a broken or slipped belt. You may also hear the motor running while the drum stays still, or notice a thumping sound before the drum stops turning altogether. Knowing how to replace a dryer belt can help you understand the repair, but the job requires careful disassembly and correct belt routing to avoid creating a second problem.
A belt replacement is often straightforward for an experienced technician. For a homeowner, the difficulty depends heavily on the dryer model and whether the front, top, rear, or full cabinet must come apart to reach the drum. If you are comfortable working around appliances and can identify parts as you go, this guide can help. If the dryer is stacked, very heavy, gas-powered, or showing more than one symptom, professional diagnosis is usually the safer and faster call.
Confirm That the Dryer Belt Is the Problem
Do not order a belt based on a non-turning drum alone. A failed idler pulley, worn drum rollers, broken motor switch, seized blower wheel, or faulty motor can produce a similar result. First, unplug the dryer and open the door. Try turning the drum by hand.
A drum that spins unusually freely, with almost no resistance, often points to a broken belt. On many models, the belt also activates a safety switch. When it breaks, the dryer may not start at all even though the control panel lights up. If the drum feels stuck, grinds, or turns only with significant effort, a roller or bearing problem may be the underlying issue instead.
Before buying a replacement, locate the dryer model number. It is commonly found inside the door opening, on the cabinet frame, or behind the control panel. Dryer belts are not universal. The correct length, width, rib pattern, and routing vary by manufacturer and model.
What You Need Before Starting
Set aside enough room to pull the dryer away from the wall and place removed screws where they will not get mixed up. A basic belt replacement commonly requires a Phillips screwdriver, a nut driver or socket set, work gloves, and a flashlight. Some models also need a flat screwdriver or putty knife to release top-panel clips.
Use a genuine manufacturer belt or a quality replacement listed specifically for your dryer model. A belt that is only slightly too long can slip, while an incorrect rib pattern can wear prematurely or damage the pulley.
Unplug the dryer before removing any panel. For a gas dryer, also shut off the gas supply valve. You generally do not need to disconnect the gas line for a belt repair, and doing so can create a gas-leak risk if it is not reconnected and tested correctly. Never work on a dryer that is still connected to power.
How to Replace a Dryer Belt Step by Step
1. Access the drum
The panel sequence depends on the dryer. Many front-load dryers require you to remove the lint screen, take out screws beneath its housing, lift the top panel, and remove the front panel. Other models have a rear access panel or a front lower panel that provides access to the idler pulley.
Take a photo before disconnecting any wires. Door-switch connectors are easy to pull apart, but reconnecting them incorrectly can prevent the dryer from starting. Keep screws separated by panel because lengths can differ.
2. Remove the old belt and inspect the drum
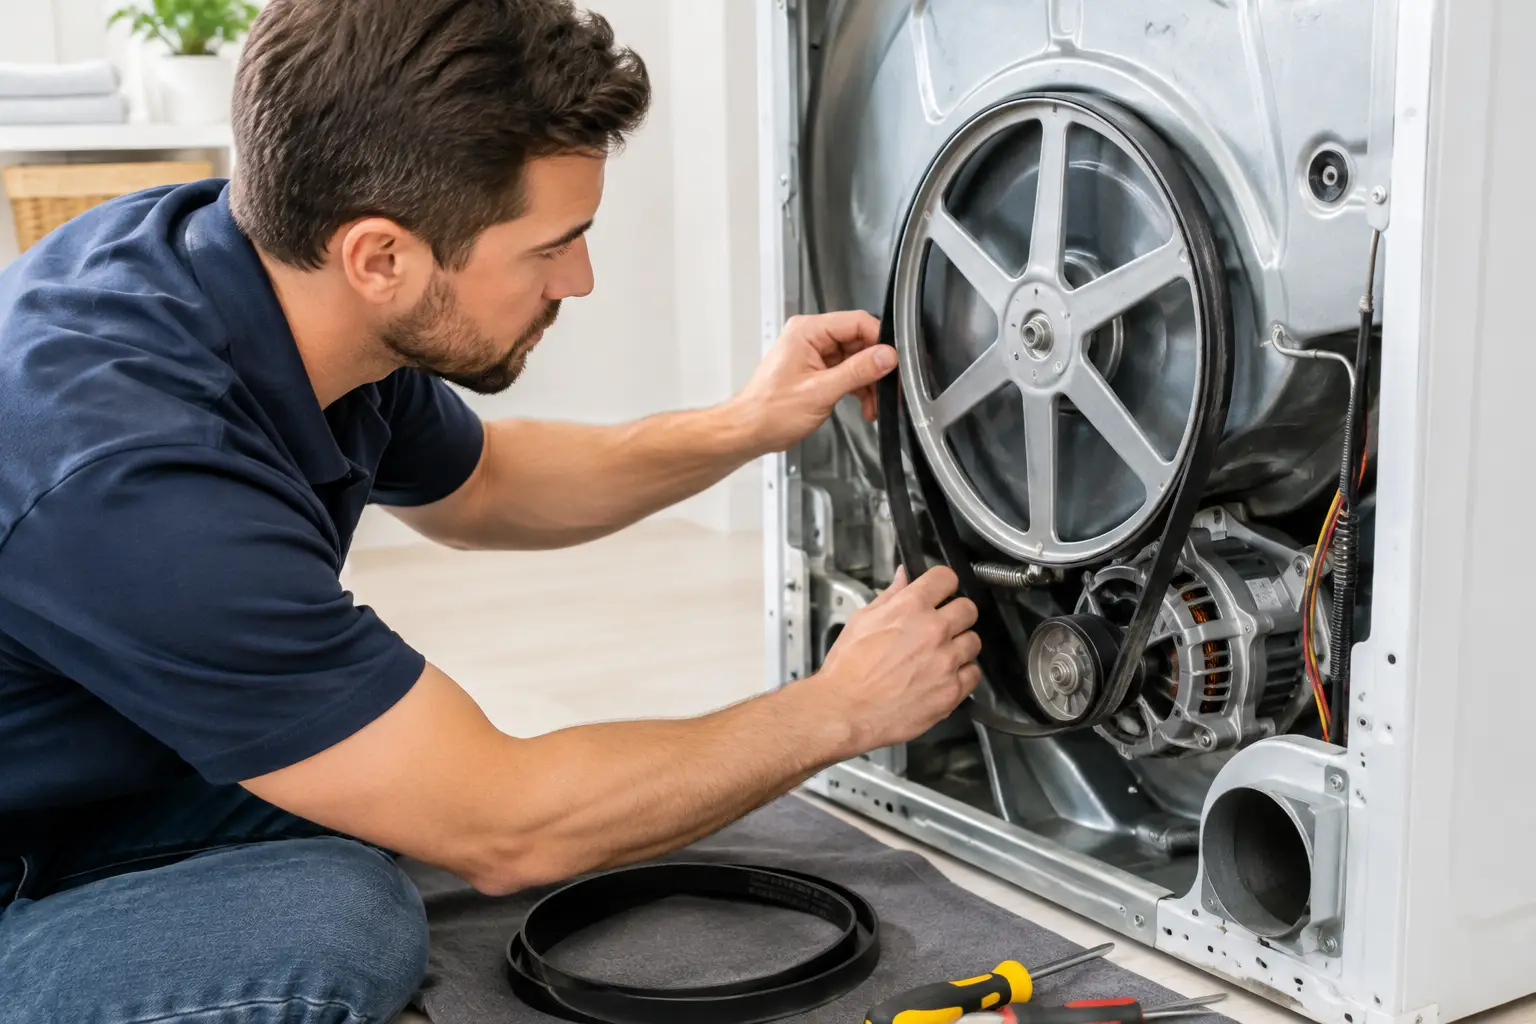
Once the front panel or access area is open, support the drum before removing the old belt. The drum may rest on rollers, but it can shift forward when the front bulkhead is removed. Slide the old belt off the drum and pulley system, then lift the drum out carefully if your model requires it.
This is the best time to look for related wear. Check the drum rollers for flat spots, wobble, or stiffness. Spin the idler pulley by hand. It should rotate smoothly without squealing or grinding. Also inspect the drum glides or felt seal near the front opening. Replacing a belt without addressing a failing pulley or roller can mean opening the dryer again soon.
Vacuum accumulated lint from the cabinet floor, motor area, and blower housing exterior. Do not force a vacuum tool into wiring or delicate components. Built-up lint can restrict airflow and increase fire risk, so this small cleanup has real value.
3. Position the new belt around the drum
Place the new belt around the drum in the same general location as the old one. The ribbed side normally faces the drum, while the smooth side faces outward. On most dryers, the belt sits several inches ahead of the rear edge of the drum, but use the worn belt’s track or the model’s service diagram as your reference.
Make sure the belt lies flat. A twist in the belt can cause it to walk off the drum or produce noise during the first cycle.
4. Route the belt through the idler pulley and motor pulley
This is the part that causes the most frustration. The belt loops around the small motor pulley and routes through the spring-loaded idler pulley, which applies tension. The exact path varies, but the idler pulley typically presses against the smooth outside of the belt while the ribbed side grips the motor pulley.
Pull the idler arm toward the motor to create slack, route the belt correctly, then slowly release the arm. Do not let it snap back. If the belt is routed correctly, it should feel snug but not excessively tight.
If you are unsure of the path, stop rather than guessing. An incorrectly routed belt can spin backward, slip off, or place damaging strain on the motor and pulley.
5. Turn the drum by hand
Before reassembling the cabinet, rotate the drum by hand several full turns in the normal direction. Watch the belt as it travels. It should remain centered on the drum and pulleys without twisting, climbing an edge, or rubbing against a bracket.
This quick check can save time. If the belt immediately moves out of position, revisit the routing and inspect the idler pulley alignment before putting panels back on.
6. Reassemble and test the dryer
Reinstall the drum support, front panel, top panel, and any access covers in reverse order. Reconnect the door-switch wiring exactly as it was. Once the dryer is fully assembled, restore power and run a short timed-dry cycle while listening for squealing, scraping, or rhythmic thumping.
Confirm that the drum turns, the dryer heats as expected, and the door switch stops the dryer when the door opens. If the dryer runs but makes new noise, shut it off and inspect the belt path and support components again.
When a Belt Replacement Is Not the Best DIY Repair
A broken belt is often a reasonable repair, but there are situations where a service visit brings more value than trial and error. Stop and arrange professional help if you smell gas, see scorched wires, find a seized motor or blower wheel, or need to move a stacked dryer. The same applies when the dryer repeatedly breaks belts. Repeated belt failure often means a roller, idler pulley, drum bearing, or motor issue is placing the belt under abnormal stress.
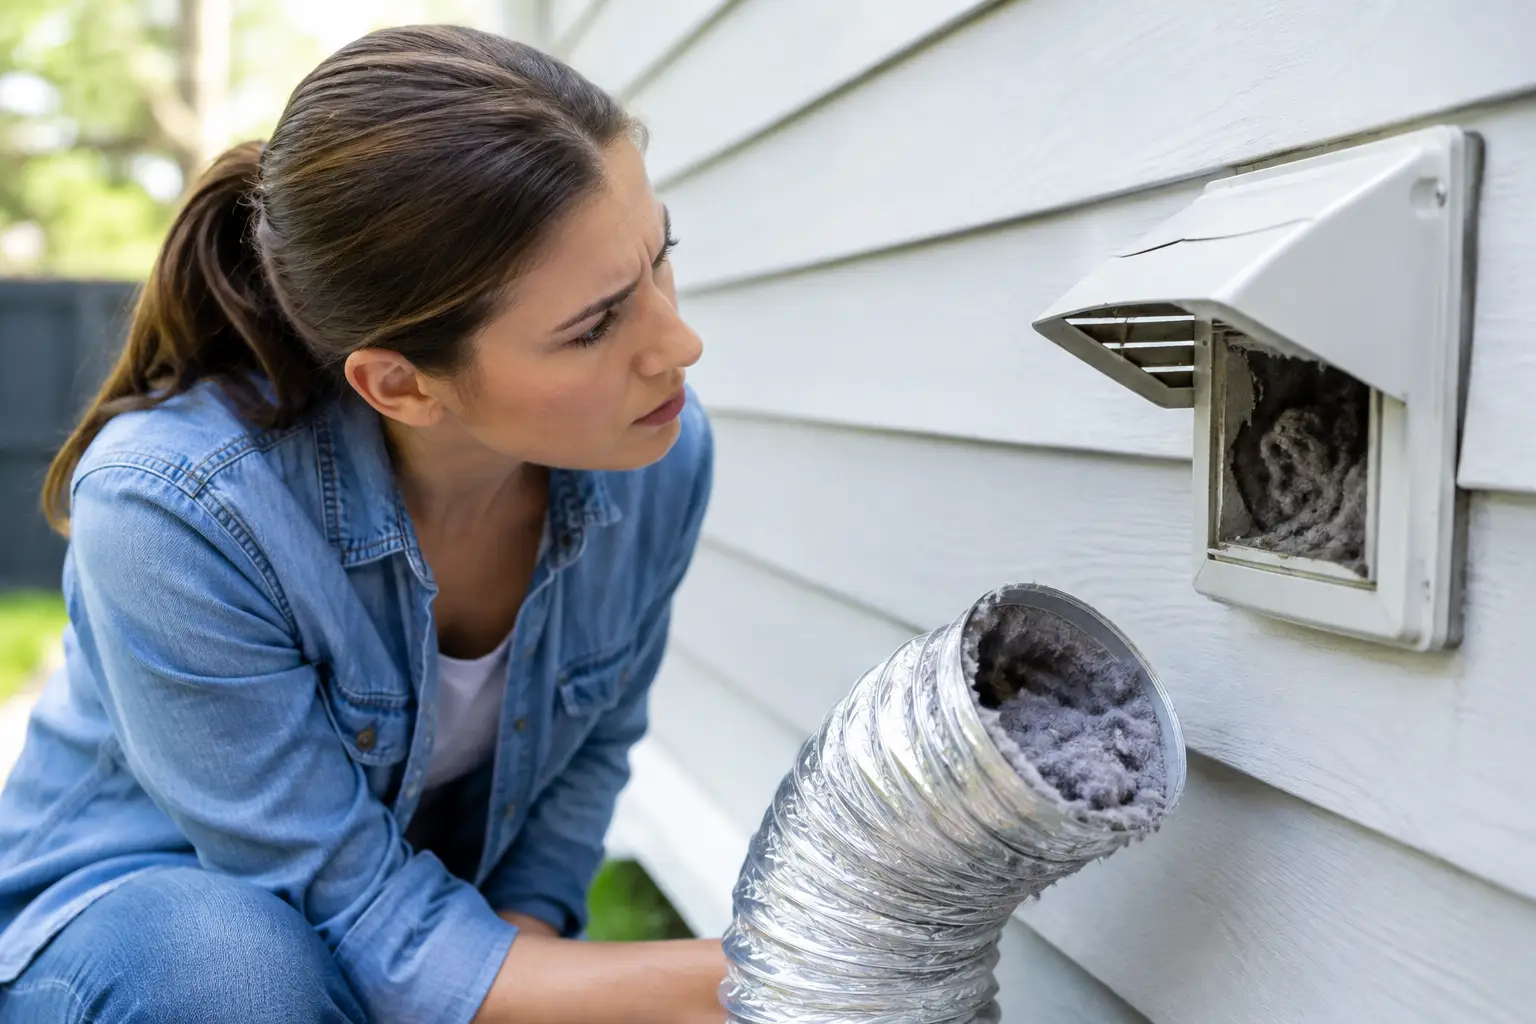
Poor drying after the drum starts turning is a separate concern. Check and clean the lint screen, vent connection, and exterior vent termination, but do not assume the belt repair caused the problem. Restricted venting, heating-element faults, and moisture-sensor issues need their own diagnosis.
For homeowners and property managers across Greater Massachusetts, Fasteny Appliance Repair can diagnose the full dryer system, explain the repair clearly, and help avoid replacing parts that are not actually causing the failure. A fair quote and the right repair the first time can be especially worthwhile when laundry is already backing up.
A dryer belt is a modest part, but it works alongside the motor, rollers, idler pulley, and airflow system every cycle. Treat the repair as a chance to check those supporting parts, and you are far more likely to get back to quiet, dependable drying instead of facing another interruption next week.