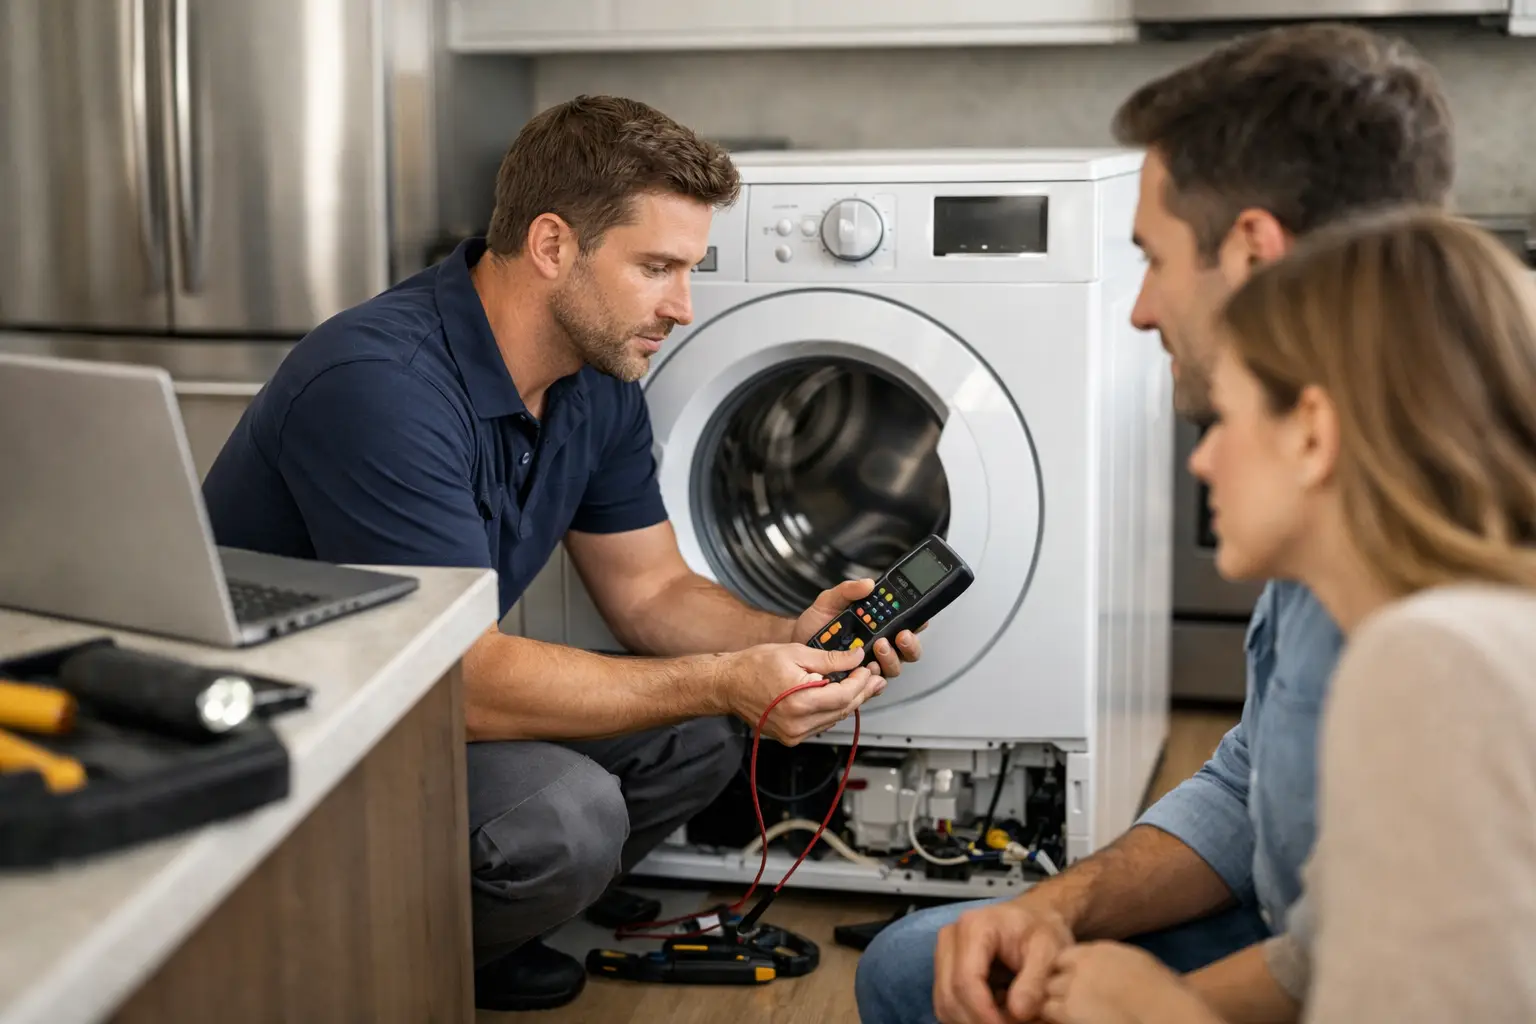
A refrigerator can still hum while the food inside gets warm. A dryer can spin without producing heat. A dishwasher may finish a cycle with cloudy water standing at the bottom. Appliance diagnostics explained simply means finding the actual reason behind those symptoms before replacing parts or quoting a repair.
For homeowners and small business operators, that distinction matters. A visible problem is not always the failed component. Correct diagnosis helps prevent wasted parts, repeat visits, and the frustration of paying for a repair that does not solve the issue.
At Fasteny Appliance Repair, serving Reading, Waltham, and homes across Massachusetts, we believe a good repair starts with a good diagnosis. This guide explains what appliance diagnostics actually involves, why the obvious symptom isn’t always the real problem, and how a proper diagnosis leads to a fair repair decision.
Modern appliances often reveal problems through error codes, and manufacturers such as Bosch publish error-code guides that help point diagnostics in the right direction before any parts come out.
What Appliance Diagnostics Really Means
Appliance diagnostics is a structured process used to identify why an appliance is not operating correctly. A qualified technician combines what you have noticed with inspection, testing, and manufacturer-specific error information. The goal is to move from a symptom, such as “the oven will not heat,” to a verified cause, such as a failed heating element, a damaged wire, a faulty relay, or a control board issue.
Modern appliances often provide useful clues through flashing lights, beeps, error codes, or unusual cycle behavior. Those clues help narrow the search, but they are rarely a complete answer by themselves. The same error code can result from a wiring problem, a sensor problem, or a failed electronic control. That is why a technician tests the appliance rather than replacing the part named by the code alone.
A proper diagnostic visit also considers the appliance’s age, condition, repair history, and how the failure developed. A washer that suddenly stopped draining calls for a different line of testing than one that has drained slowly for several weeks.
Why Symptoms Do Not Always Point to the Failed Part
It is natural to connect the symptom to the most obvious part. If a dryer does not heat, many people assume the heating element is bad. In some cases, it is. But the cause may also be a tripped thermal fuse, a failed thermostat, a damaged power connection, a faulty igniter in a gas dryer, or restricted venting that caused a safety component to fail.
The same principle applies throughout the home. A leaking refrigerator may have a blocked defrost drain instead of a cracked water line. A dishwasher that leaves dishes dirty could have a circulation problem, a spray-arm blockage, low water fill, or a detergent issue. An oven that will not reach temperature may have a weak bake element, an inaccurate sensor, or a control issue.
Replacing parts based on guesses can become expensive quickly. Diagnostics create a clear repair plan: what failed, what needs to be replaced or corrected, what the repair costs, and whether repair is a sensible choice for that appliance.
What a Technician Checks During Appliance Diagnostics
The exact process depends on the appliance and symptom, but professional diagnostics generally follow a logical path. The technician first listens to your description of the problem, including when it began, whether it is constant or intermittent, and any sounds, smells, leaks, or error messages you observed.
Next comes a visual and mechanical inspection. Loose connections, worn door seals, damaged hoses, clogged filters, blocked vents, and broken latches can sometimes explain a failure without extensive disassembly. The technician also confirms that the appliance has the correct electrical supply, gas supply where applicable, water supply, drainage, and airflow.
Then, testing begins. Depending on the appliance, this may include:
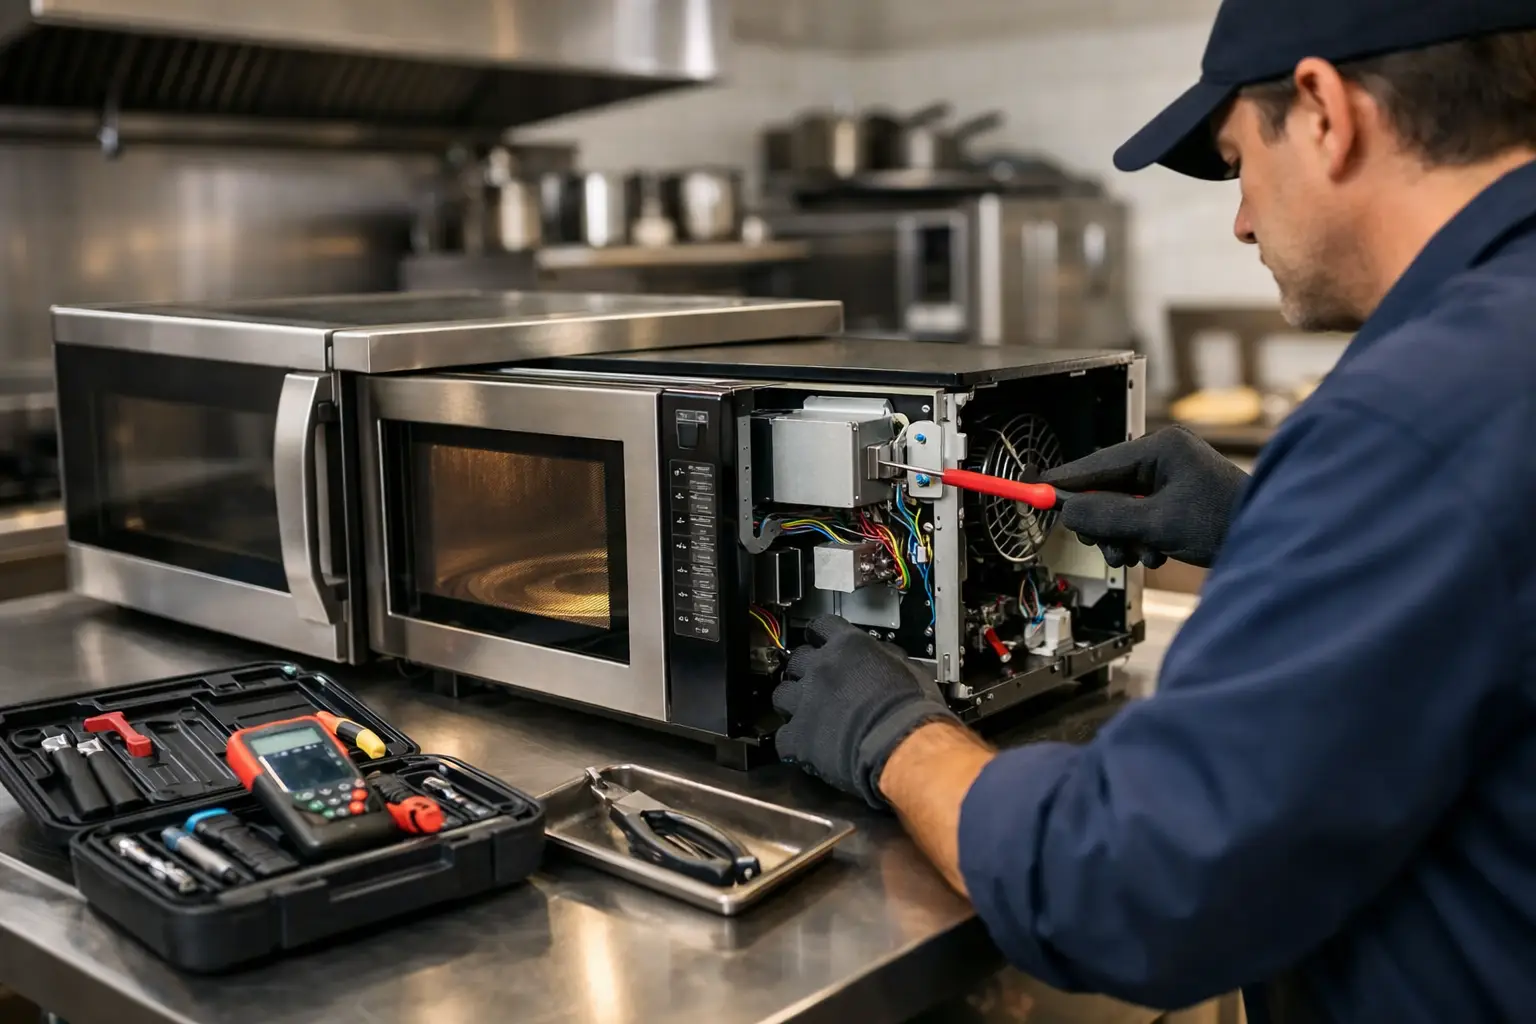
- Checking voltage, continuity, resistance, and electrical connections with appropriate test equipment.
- Running diagnostic modes or reviewing stored error codes when the model supports them.
- Testing components such as motors, pumps, valves, sensors, switches, thermostats, heating elements, igniters, and relays.
- Inspecting control boards and wiring for signs of heat damage, corrosion, failed connections, or communication errors.
A technician may need to run a cycle, monitor temperatures, verify water fill and drainage, or observe the appliance under load. Intermittent problems can take longer than a clear mechanical failure because the appliance may need to reproduce the symptom before the cause can be confirmed.
Common Diagnostic Paths by Appliance
Refrigerators and Freezers
Cooling problems require more than checking whether the refrigerator is plugged in. A technician may inspect airflow through the compartments, evaporator frost patterns, condenser condition, fans, door gaskets, defrost components, and temperature sensors. If the compressor is running but cooling is weak, the diagnostic path may involve the start device, sealed system performance, or electronic controls.
Water leaks and ice maker problems also need careful tracing. Water can travel along insulation or panels, so the location of the puddle is not always where the leak began.
Washers and Dryers
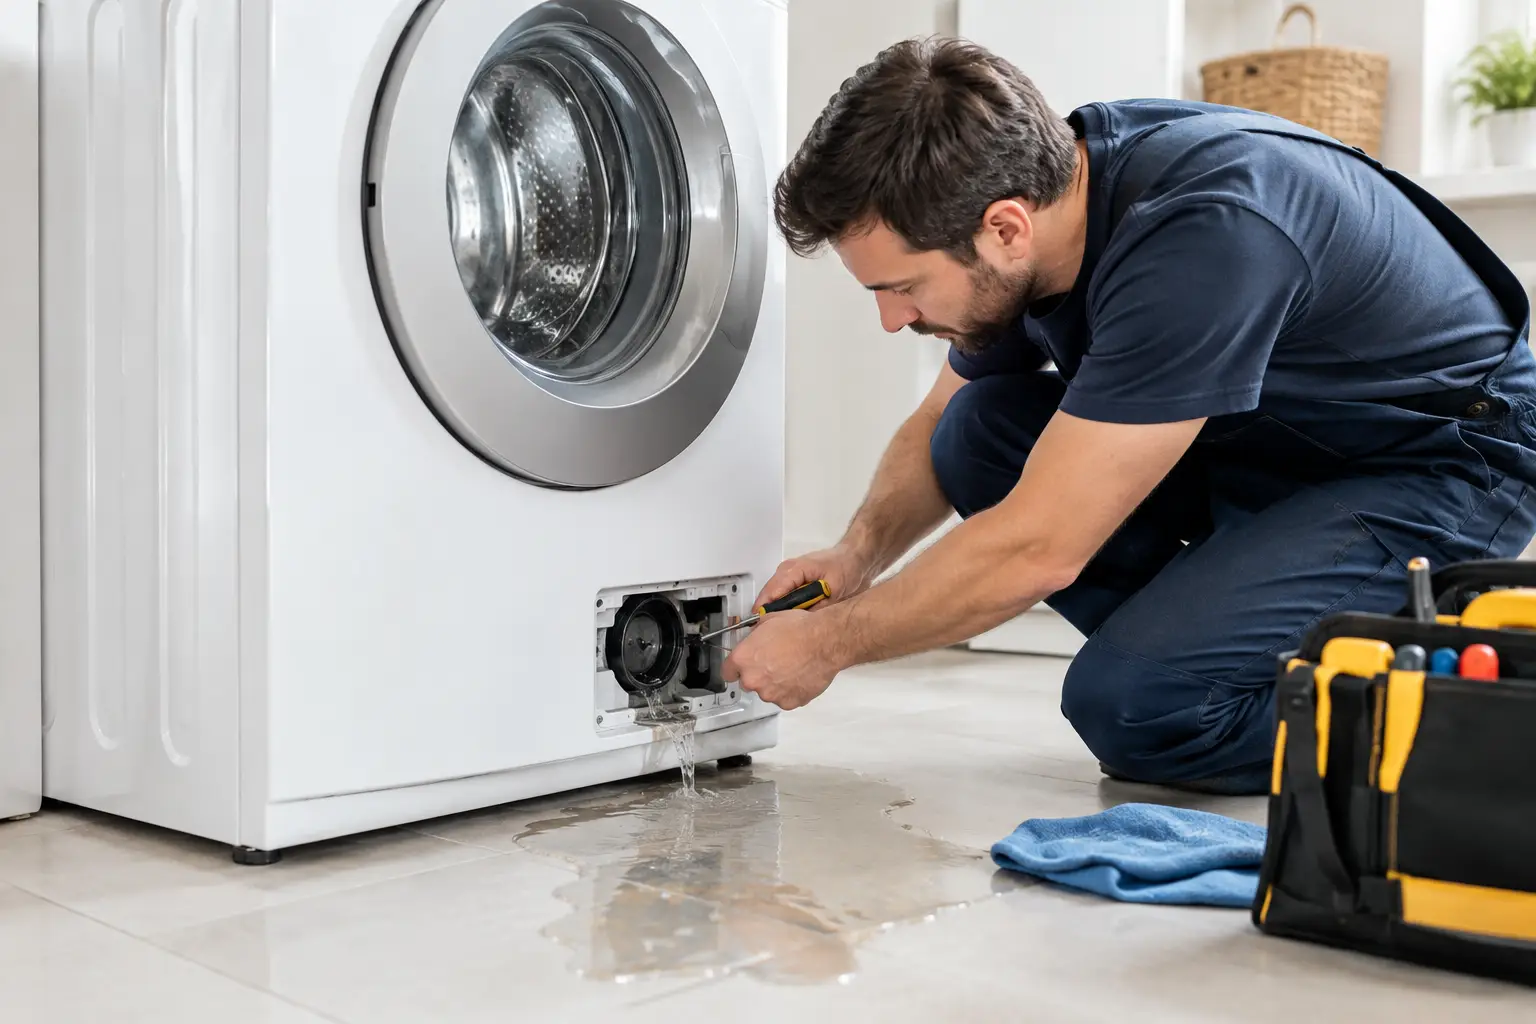
For washers, common complaints include no drain, no spin, shaking, leaks, and failure to start. Diagnostics may focus on the drain pump and hose, lid or door lock, suspension, motor system, inlet valves, pressure sensing, and control board.
For dryers, heat, airflow, and tumbling are separate functions. A dryer can tumble normally while having an unsafe vent restriction or a failed heating circuit. If clothes take multiple cycles to dry, the vent path deserves as much attention as the appliance itself.
Dishwashers, Ovens, and Cooktops
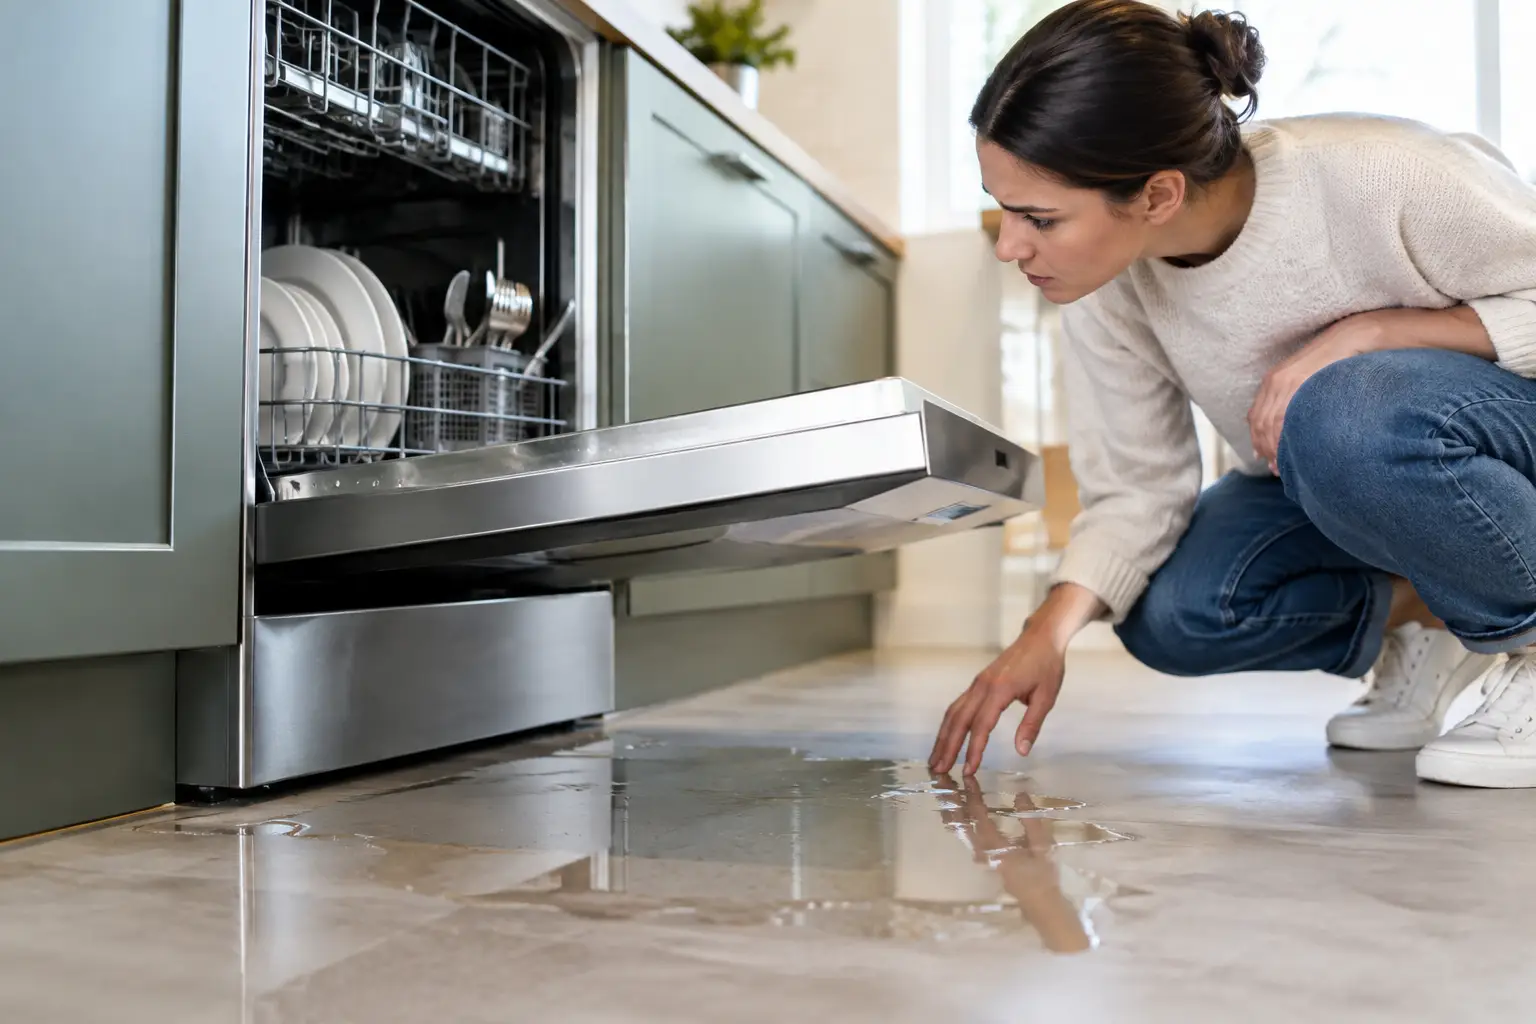
Dishwasher diagnostics often involve water fill, circulation, draining, door latch operation, heating performance, and detergent dispenser function. A poor wash result is not automatically a bad pump.
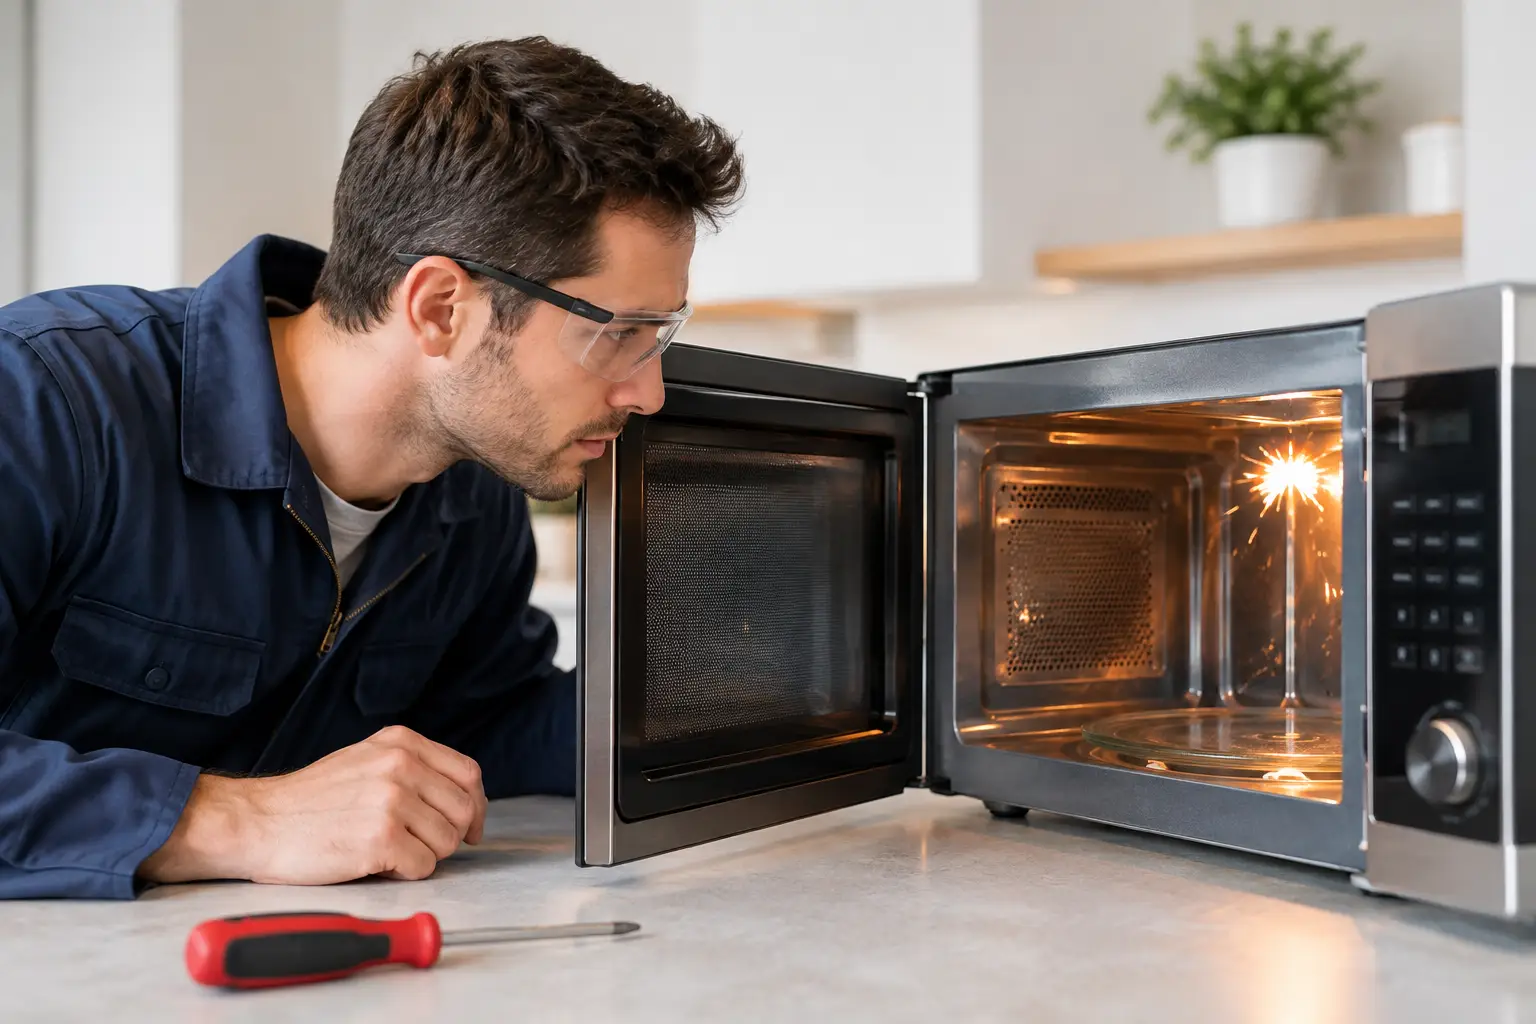
For ovens and cooktops, technicians check heating elements or burners, igniters, temperature sensors, switches, wiring, and control functions. Gas appliance issues require added caution. If you smell gas, turn off the appliance if it is safe to do so, leave the area, and follow your gas utility’s emergency instructions.
When a Quick Check at Home Makes Sense
A few simple checks can save time before scheduling service. Confirm that the appliance has power, inspect the circuit breaker, make sure water supply valves are open, and clean accessible filters or lint screens. For a dishwasher, check whether the sink-side disposal connection is clear if it was recently installed or replaced. For a dryer, clean the lint screen and look for obvious kinks in the vent hose.
Avoid opening electrical panels, bypassing safety switches, or disassembling gas connections. Appliances can retain electrical charge, contain sharp edges, or create water and fire hazards when handled incorrectly. DIY troubleshooting is best limited to safe, external checks and manufacturer-recommended cleaning.
How Diagnostics Lead to a Fair Repair Decision
The best outcome is not always “replace the part.” After identifying the failure, a technician should explain the repair in plain language and provide a clear quote before work begins. You can then weigh the cost of repair against the appliance’s age, overall condition, efficiency, and the price of replacement.
Repair is often the practical choice when the appliance is otherwise in good condition and the failed part is serviceable. Replacement may make more sense for certain sealed-system refrigerator failures, extensive corrosion, repeated control-board problems, or an older appliance with multiple major issues. There is no one rule for every model.
For urgent problems such as food at risk in a warm refrigerator, a leaking washer, or a dryer that will not heat, fast scheduling matters as much as technical skill. A responsive local technician can diagnose the failure, explain the options, and help restore a routine that should not have to wait.
When an essential appliance starts acting differently, write down the symptoms, any error codes, and when the problem occurs. That small amount of detail gives the technician a stronger starting point and helps turn a stressful breakdown into a clear next step.
Frequently Asked Questions
What is appliance diagnostics?
It’s the process a technician uses to pinpoint the actual cause of a fault rather than guessing from the symptom. It combines checking error codes, testing components, and ruling out related parts so the real failure is found before any part is replaced.
How much is an appliance diagnostic fee, and does it go toward the repair?
A diagnostic or service-call fee covers the technician’s time to identify the problem, and many shops apply it toward the repair if you proceed. Our overview of what appliance repair costs explains how these fees typically work.
Why does a technician test parts that seem to be working?
Because symptoms don’t always point to the failed part. A fridge that won’t cool might have a healthy compressor but a bad fan or control board, so testing related components prevents replacing the wrong part.
Can I diagnose an appliance problem myself?
Some basic checks are fine, like confirming power, clearing a filter, or noting an error code. Beyond that, comparing local pros helps; see our guide to choosing an appliance diagnostic service near you.
Do I need a certified technician for refrigerator diagnostics?
For anything involving refrigerant, yes. The U.S. EPA’s Section 608 rules require certified technicians to handle refrigerant, which is why sealed-system fridge diagnostics should be left to a qualified pro.
Conclusion
Appliance diagnostics is what separates a lasting fix from a lucky guess. Understanding how a technician narrows down the real cause helps you spend on the right repair instead of trial-and-error parts. Fasteny Appliance Repair serves Billerica, Peabody, and communities across Massachusetts with clear pricing and honest diagnoses. Request a diagnosis, explore our appliance repair services, or call +1 (617) 618-3311. If you’re weighing a fix, our guide on repair or replace can help.