A dryer that tumbles but produces no heat can stop laundry day quickly, especially in a busy household or rental property. If you searched test dryer thermal fuse, you are looking at one of the most common safety parts behind that symptom. A thermal fuse is straightforward to check with a multimeter, but the result is only one part of a proper diagnosis. The fuse usually blows because the dryer overheated, and replacing it without correcting the cause can lead to the same failure again.
What a dryer thermal fuse does
A dryer thermal fuse is a one-time safety device. It opens the electrical circuit if the dryer reaches an unsafe temperature, helping reduce the risk of overheating and fire. Unlike a thermostat, it does not reset after it trips. Once it is open, it must be replaced.
The exact symptom depends on the dryer model and where the fuse sits in the circuit. On many electric dryers, a failed thermal fuse means the drum will turn but the dryer will not heat. On some models, the dryer may not start at all. Gas dryers can show similar symptoms, although a failed gas valve coil, igniter, flame sensor, or high-limit thermostat can also be responsible.
A thermal fuse is not a part to bypass, even briefly. Bypassing it removes an essential safety protection and can allow the dryer to overheat. Testing it correctly takes only a few minutes once the dryer is safely disconnected.
Before you test a dryer thermal fuse
Start with safety. Unplug an electric dryer from the outlet. Do not rely on turning the control knob to Off. Dryers use 240 volts, and the terminal block and heating components can remain hazardous if the appliance is still connected.
For a gas dryer, unplug the unit as well. If you need to pull the dryer far enough from the wall to access its rear panel, close the gas shutoff valve first and avoid straining the flexible gas line. If the connector is damaged, corroded, or difficult to move, stop and schedule service rather than forcing it.
You will need a multimeter that can test continuity or resistance, usually shown by an ohms symbol (Ω). A basic digital multimeter is sufficient. You may also need a nut driver or screwdriver to remove a rear or front access panel, depending on the dryer design.
Let the dryer cool fully before working around the heater housing or exhaust duct. Pull the appliance forward carefully. Crushed or disconnected venting can contribute to overheating, so take a moment to look for obvious damage as you move it.
How to test a dryer thermal fuse with a multimeter
The thermal fuse is commonly mounted on the blower housing near the exhaust vent. On some dryers, it may be near the heating element housing or behind the front panel. Your dryer’s model documentation can help identify the correct part, but the fuse is generally a small plastic or metal component with two wire terminals.
Access and identify the part
Remove the appropriate dryer panel and locate the blower housing and exhaust path. The thermal fuse is usually smaller than the high-limit thermostat and may be white, black, or metal-colored. Do not assume every small two-wire component is the fuse. A thermostat can look similar but serves a different purpose.
Before disconnecting anything, take a clear photo of the wire positions. Then remove at least one wire from the thermal fuse terminal. Testing with both wires attached can produce a misleading reading because electricity may travel through another path in the circuit.
Pull the connector by its insulated terminal, not by the wire itself. If the terminal is tight, use needle-nose pliers gently on the connector.
Check for continuity
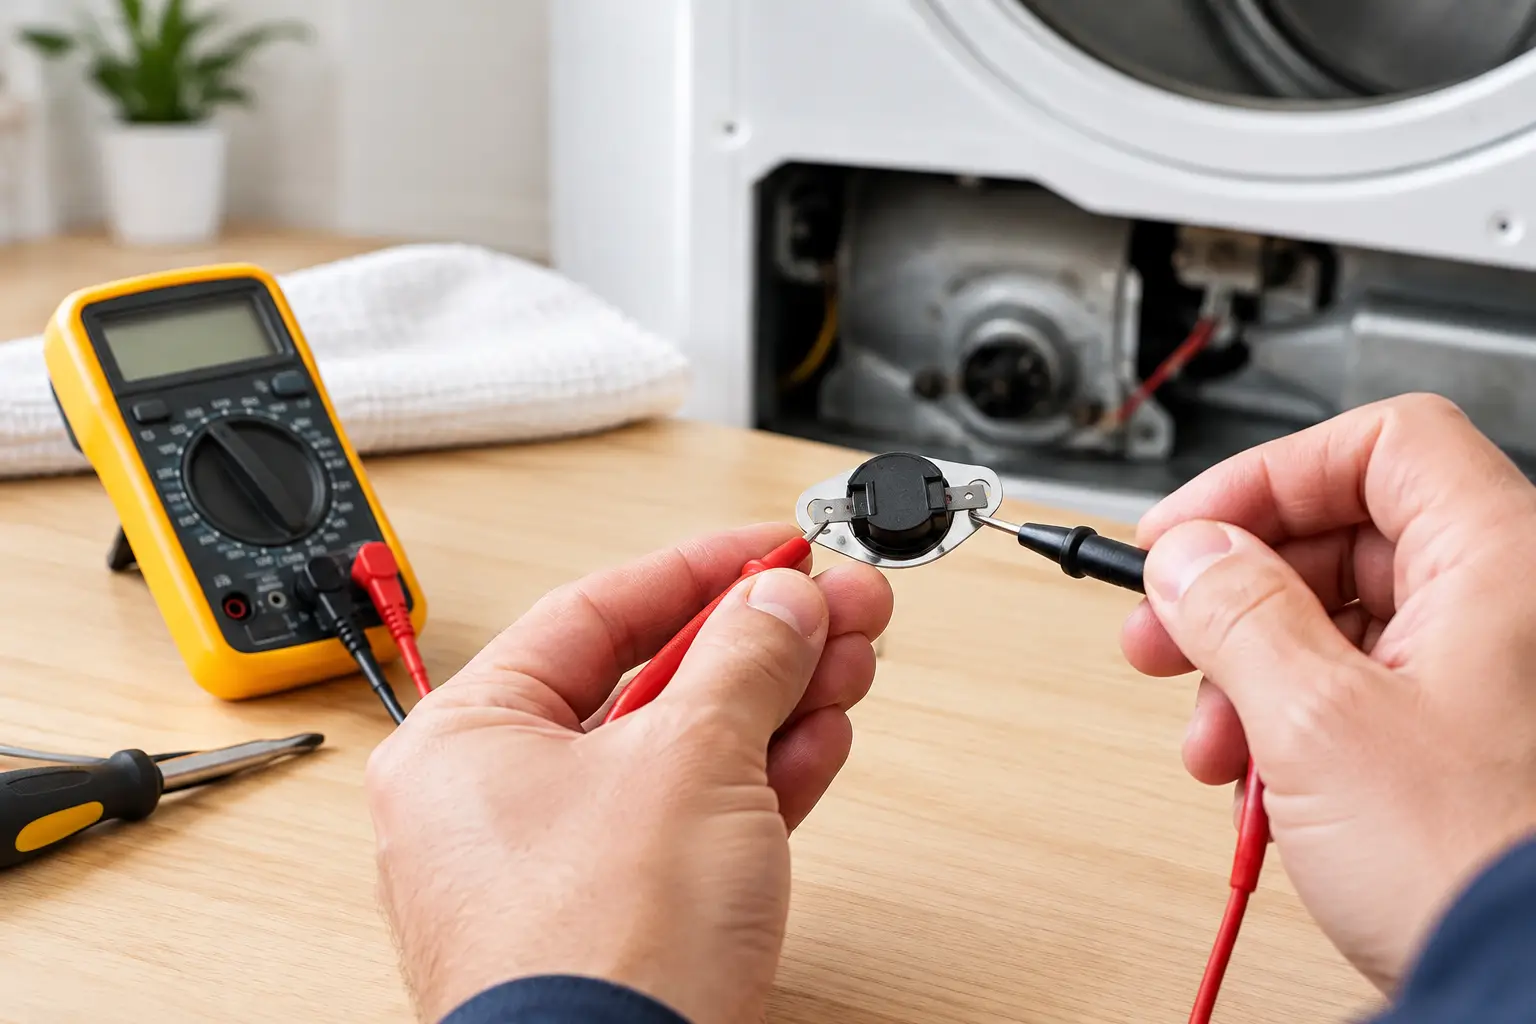
Set the multimeter to continuity mode. Many meters beep when there is a complete path through the part. Touch one probe to each thermal fuse terminal.
A good thermal fuse should show continuity. The meter may beep, or it may display very low resistance, often close to 0 ohms. An open or failed fuse will not beep and may display OL, Open, or a very high resistance reading.
If your meter does not have continuity mode, use the lowest resistance setting. A reading near zero generally indicates a closed circuit. No measurable reading indicates that the fuse is open.
Do not test continuity with power connected to the dryer. A continuity setting sends a small signal from the meter and is intended for de-energized circuits only.
What your test result means
If the thermal fuse has continuity, it is probably not the cause of the failure. The next diagnosis depends on the dryer’s symptoms. An electric dryer that runs without heat may have a bad heating element, failed thermostat, loose connection, damaged power cord, or a problem with one side of the 240-volt supply. A dryer can still tumble on 120 volts while being unable to heat.
If the fuse is open, it needs replacement. However, replacing the fuse alone may not be a lasting repair. The dryer likely overheated for a reason, and restricted airflow is a frequent cause.
Why thermal fuses blow in the first place
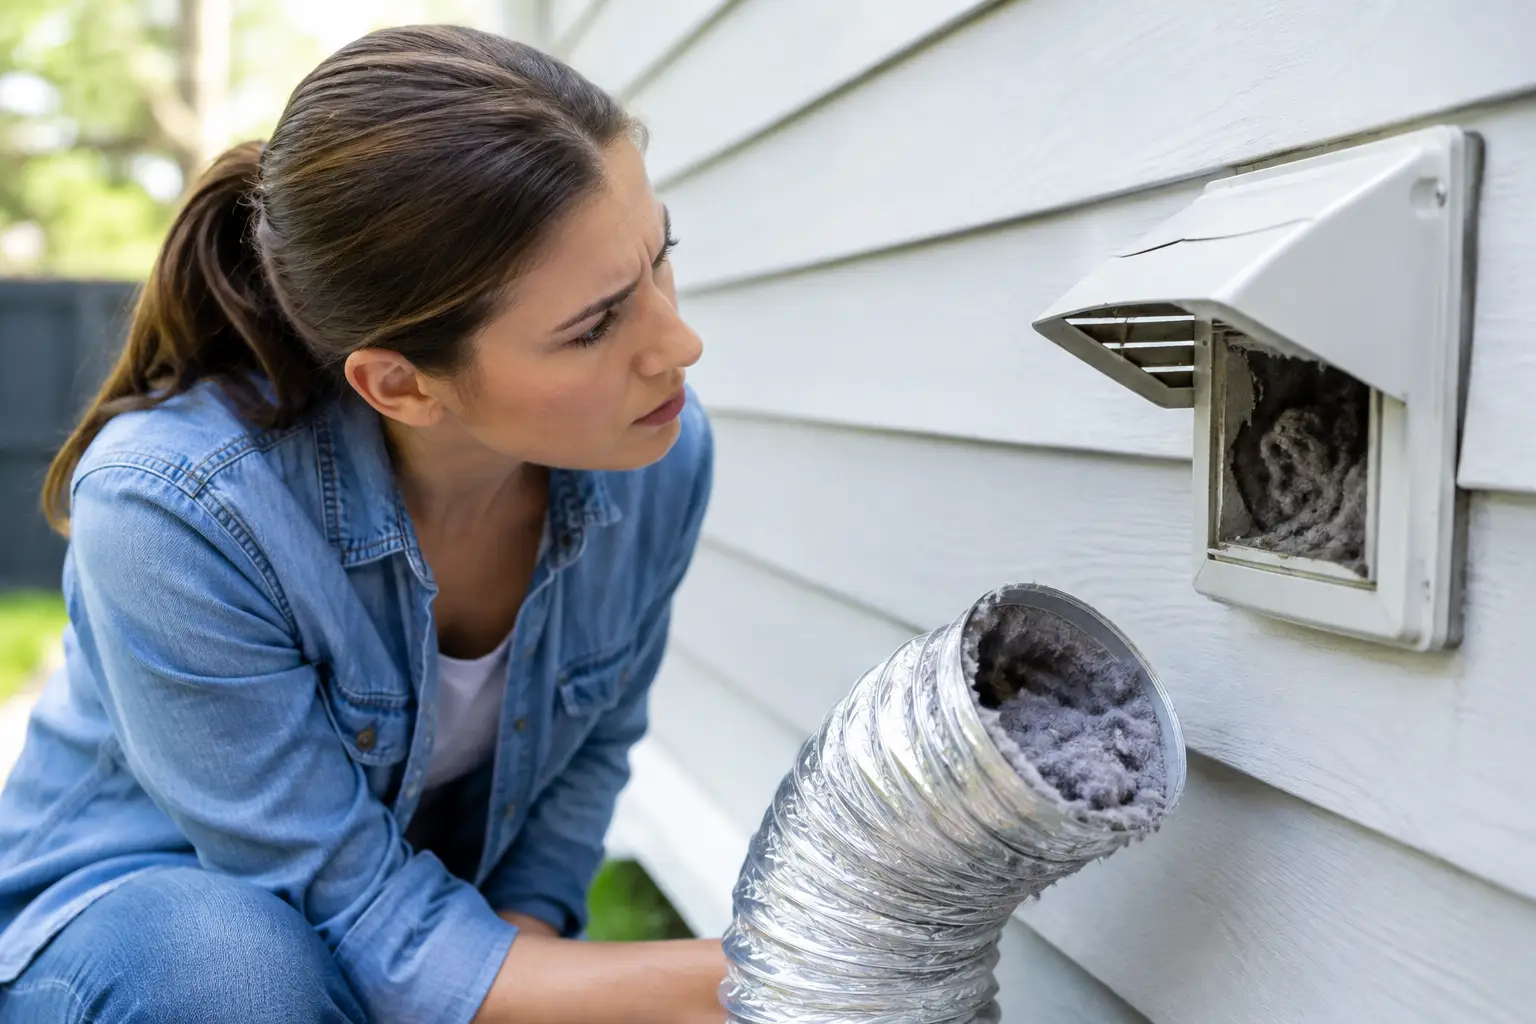
Lint buildup is not limited to the lint screen. It can collect in the blower housing, internal ductwork, transition hose, exterior vent hood, and long runs of vent pipe. When moist air cannot leave the dryer efficiently, heat builds up in the appliance. The thermal fuse then acts as the final safety cutoff.
A clogged vent is especially common when clothes take multiple cycles to dry, the dryer cabinet feels unusually hot, or the laundry room becomes humid during use. A weak airflow problem can become a no-heat problem once the fuse opens.
Other causes are possible. A cycling thermostat that fails to regulate temperature, a grounded heating element that stays energized too long, a damaged blower wheel, or poor vent installation can also create overheating conditions. Flexible plastic or foil-style vent materials are more likely to sag, trap lint, and restrict airflow than properly installed rigid or semi-rigid metal ducting.
For that reason, a good repair includes checking the exhaust system from the dryer connection to the outside termination. The exterior vent flap should open freely while the dryer runs. If it barely moves or lint is packed around it, airflow needs attention before the appliance is put back into regular use.
When a DIY thermal fuse test makes sense
Testing is reasonable if you are comfortable using a multimeter, can safely unplug and access the dryer, and are only confirming whether the fuse has continuity. It can help you understand the likely problem before arranging service.
The trade-off is that a continuity test does not identify why the fuse failed or rule out related electrical and airflow issues. It also does not confirm that a replacement fuse matches the dryer’s specifications. Using an incorrect part, overlooking a blocked vent, or damaging a wire terminal during reassembly can turn a small repair into a larger one.
Professional diagnosis is usually the better choice when the dryer has repeatedly blown fuses, smells hot or burnt, trips a breaker, makes unusual noises, has a damaged vent system, or is a gas model with ignition concerns. For homeowners and local businesses across Greater Massachusetts, Fasteny Appliance Repair can diagnose the complete dryer system, explain the repair clearly, and help address the cause instead of only replacing the failed part.
After replacing a failed fuse
Install the correct manufacturer-approved replacement and reconnect the terminals exactly as they were. Reassemble every panel before restoring power. Dryer panels often form part of the appliance’s airflow path, so running the machine with panels removed is not a safe shortcut.
Before loading a full basket of laundry, run a short timed cycle and confirm that the drum turns, heat is present when applicable, and air flows strongly from the outdoor vent. Stay nearby for the test. If the dryer becomes excessively hot, shuts down, shows an error code, or still fails to heat, disconnect it and arrange service.
Cleaning the lint screen after every load and checking the exterior vent regularly are small habits that protect drying performance. If a thermal fuse has opened, treat it as the dryer’s warning that the heat and airflow system deserves a closer look.