A small puddle below the washing machine can turn into damaged flooring, swollen cabinets, or a ceiling leak in the room below sooner than most homeowners expect. Leaking washer repair starts with stopping the water safely, then identifying when and where the leak occurs. That timing often points directly to the failed part.
Do not keep running a leaking washer to see whether the problem gets worse. A minor hose drip may be inexpensive to correct, but repeated cycles can turn it into a much larger water-damage issue. Fast action protects your home and gives a technician a clearer picture of what failed.
What to Do When Your Washer Is Leaking
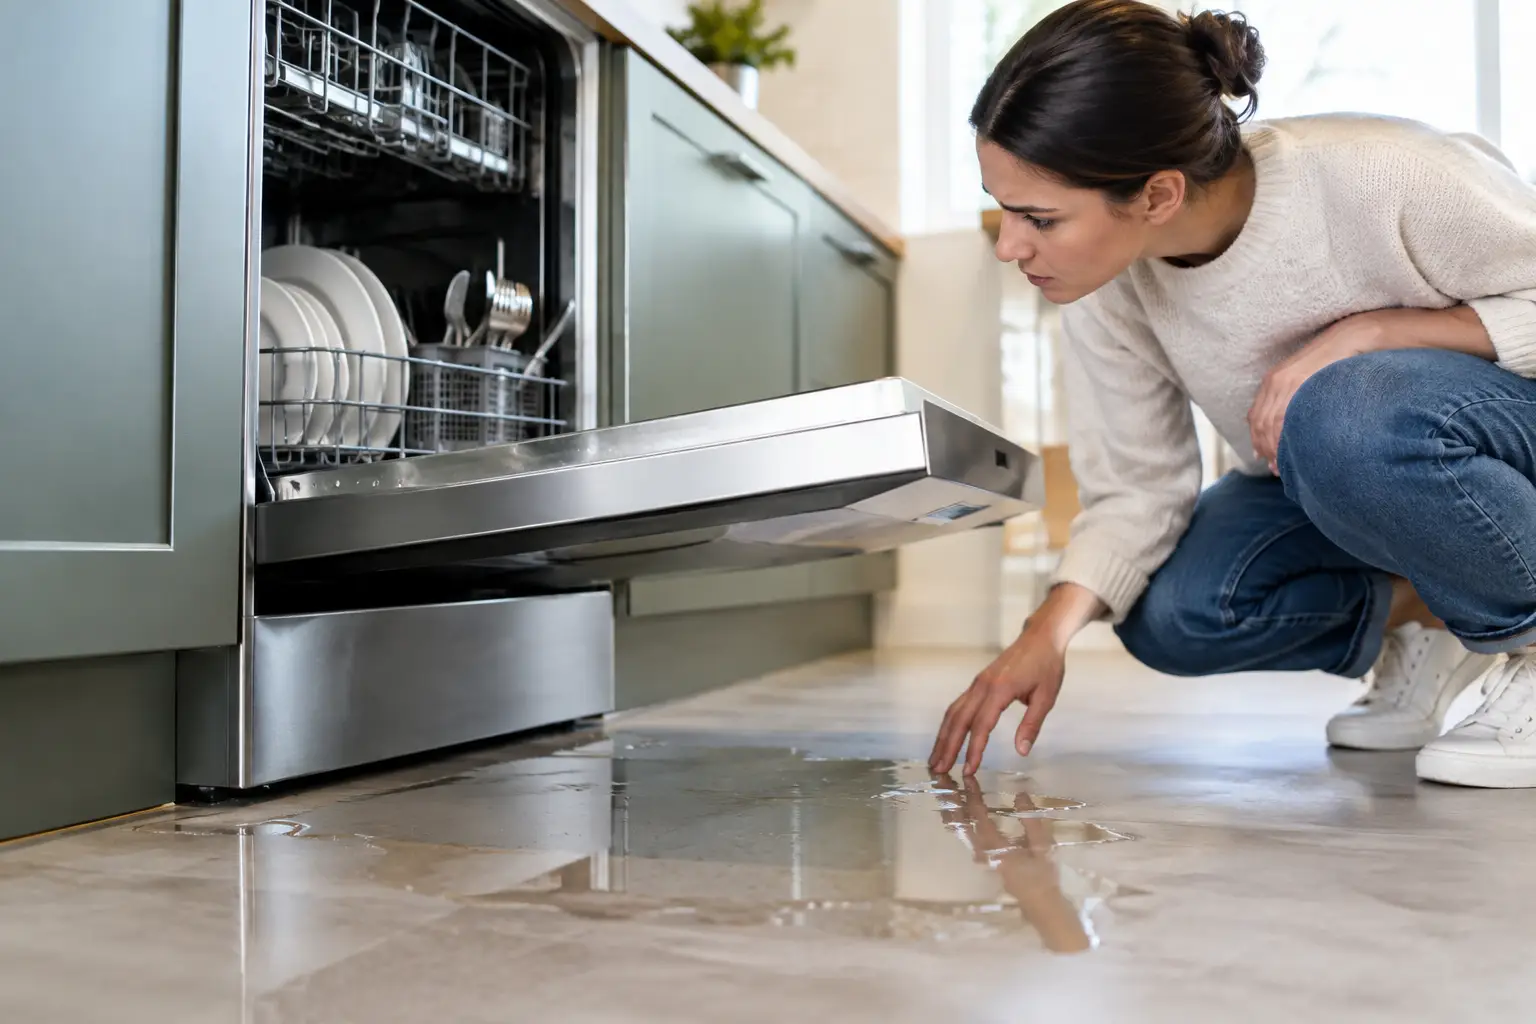
If water is actively spreading across the floor, turn off the washer and close both water supply valves behind the machine. Unplug the appliance only if you can do so without stepping in water or reaching through a wet area. Use towels to contain the water, and move nearby items away from the leak.
Before cleaning everything up, take a quick photo of the puddle and note where it appears. Is the water coming from the front of the machine, underneath it, behind it, or only from the drain area? Also note whether the leak began while the washer was filling, washing, draining, or spinning. Those details can save time during diagnosis.
Avoid tipping, pulling, or disassembling a heavy washer on your own. Beyond the risk of injury, moving the unit can loosen a stressed hose or hide the evidence of the original leak. If the water reached an outlet, extension cord, or electrical connection, leave the machine off and arrange professional service.
Leaking Washer Repair Starts With Leak Timing
A washer uses water in several stages, and each stage involves different components. Knowing when the water appears helps narrow the likely cause before any repair begins.
Water leaks while the washer fills
A leak that starts as soon as the cycle begins often involves the supply side of the washer. The hot and cold inlet hoses may be loose, cracked, kinked, or worn at the connection. Rubber hoses can deteriorate over time, while braided hoses can still fail at fittings or develop internal damage.
The water inlet valve inside the washer is another possibility. This valve opens to admit hot or cold water into the appliance. If it is cracked, corroded, or no longer sealing correctly, water may drip from the rear or collect beneath the cabinet even when the washer is not in use.
On some models, a blocked detergent dispenser can also force water over the front of the machine during filling. Using more detergent than the manufacturer recommends, especially high-sudsing detergent in a high-efficiency washer, can contribute to overflow problems.
Water leaks during agitation or washing
Leaks during the wash portion of a cycle may come from the detergent dispenser, tub seal, door gasket, or internal hoses. A front-load washer commonly leaks from the door area when its rubber gasket is torn, warped, or obstructed by a small item such as a sock, coin, or piece of fabric.
For top-load machines, overloading is a frequent and preventable cause. A heavy comforter, too many towels, or an uneven load can splash water over the tub or put extra stress on internal parts. The washer may also shift out of level, allowing water to escape where it normally would not.
Excess suds deserve attention as well. Too much detergent creates foam that can push through vents and seals, making it look like the washer has a mechanical failure. Reducing detergent may help, but recurring leaks should still be checked. Suds can be the visible symptom of a drainage or dispenser issue rather than the only cause.
Water leaks when the washer drains or spins
When a washer leaks near the end of the cycle, the drain system becomes the primary suspect. A loose drain hose, a cracked hose, or a damaged hose clamp can release a large amount of water quickly. The hose can also slip out of the standpipe if it is not installed securely.
A clogged household drain can look like a washer leak. In this case, the washer pumps water out normally, but the standpipe or nearby drain cannot handle the flow, so water backs up onto the floor. You may notice gurgling, slow drainage, or water rising from the pipe behind the appliance.
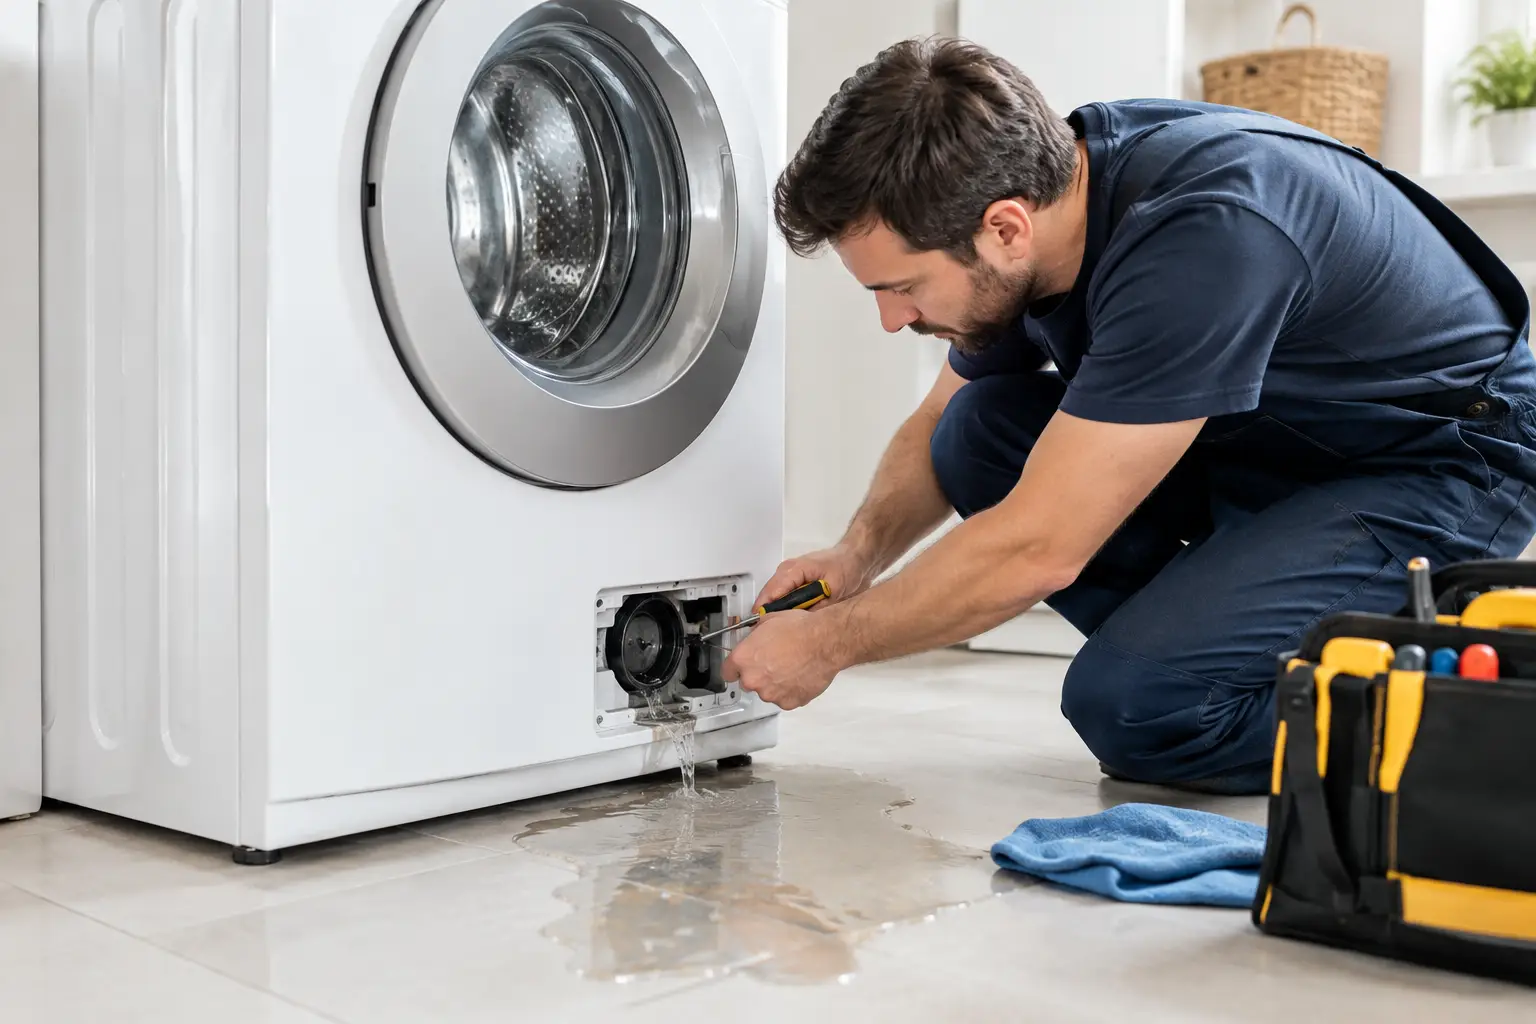
The drain pump is another common source. This component moves water from the tub to the drain hose. A cracked pump housing, failed seal, or worn connection can cause water to collect underneath the washer during draining. Accessing and testing the pump usually requires removing panels and working around electrical components, so it is best handled by a qualified technician.
Common Causes of a Washer Leak
Most washer leaks come down to a short list of parts, but the right repair depends on the appliance model and the location of the failure. Replacing a hose when the actual problem is a failing pump or tub seal only delays the real repair.
Supply hoses and drain hoses are among the more straightforward fixes when they are accessible and clearly damaged. Door gaskets, water inlet valves, detergent dispensers, and drain pumps require a more precise diagnosis. A leaking tub seal or damaged outer tub can be more involved and may require a careful repair-versus-replacement conversation, particularly on an older machine.
Age matters, but it is not the only factor. A newer washer with a failed pump or gasket is usually worth repairing. For an older unit with major bearing damage, a cracked tub, or multiple failing components, the total cost and expected remaining life should guide the decision. A dependable repair company should explain the issue clearly and provide an honest quote before work begins.
Simple Checks You Can Make Safely
Once the water is off and the floor is dry, you can inspect a few exterior areas without taking the washer apart. Check the supply hose connections for moisture and look for visible cracks, bulges, or rust around fittings. Inspect the drain hose for splits, loose clamps, and signs that it has pulled away from the standpipe.
Open the washer door or lid and look for obvious clothing caught in the seal area. On a front-load washer, wipe the door gasket clean and check the folds for debris, tears, or standing water. If you have a top-load washer, confirm that it is level and that recent loads have not been unusually large or unbalanced.
Do not use caulk, tape, or a temporary patch on a pressurized hose or internal washer component. These fixes can fail without warning, often during a high-volume drain or spin cycle. They also make a proper diagnosis harder if water has traveled behind or beneath the unit.
When to Schedule Professional Washer Leak Service
Professional service is the right call when the source is not obvious, water is coming from beneath the cabinet, or the washer leaks repeatedly after hoses and detergent use have been checked. It is also wise to call for help if the machine will not drain, makes grinding sounds, shows an error code, or has leaked near electrical connections.
A trained technician can isolate the leak, inspect the pump and internal hoses, check the inlet valve, test the drain path, and verify that the repair holds through the appropriate cycle. This is more than replacing a visible part. It is the difference between stopping one drip and preventing the next leak from damaging the same area.
For homeowners, landlords, and small businesses across Greater Massachusetts, Fasteny Appliance Repair provides responsive washer diagnostics with clear explanations and fair quotes. Same-day or next-day availability can be especially valuable when a laundry room leak is disrupting a household, tenant turnover, or business operation.
Preventing the Next Washer Leak
A few practical habits can reduce the chance of another leak. Use the correct type and amount of detergent for your machine, avoid packing the drum beyond its capacity, and check that the washer stays level after moving or cleaning behind it. Inspect accessible hoses periodically, especially if they are older or show discoloration, stiffness, or corrosion at the fittings.
It also helps to leave enough space behind the washer so hoses are not sharply bent or crushed against the wall. If you notice a musty smell, unexplained moisture, or a small recurring puddle, do not wait for a major cycle-day failure. Early service is usually simpler, less disruptive, and far less costly than repairing water damage after the fact.
A washer should make laundry easier, not leave you watching the floor for the next drip. Turning off the water, documenting the symptoms, and getting the right diagnosis quickly gives you the best chance of protecting both the appliance and your home.